

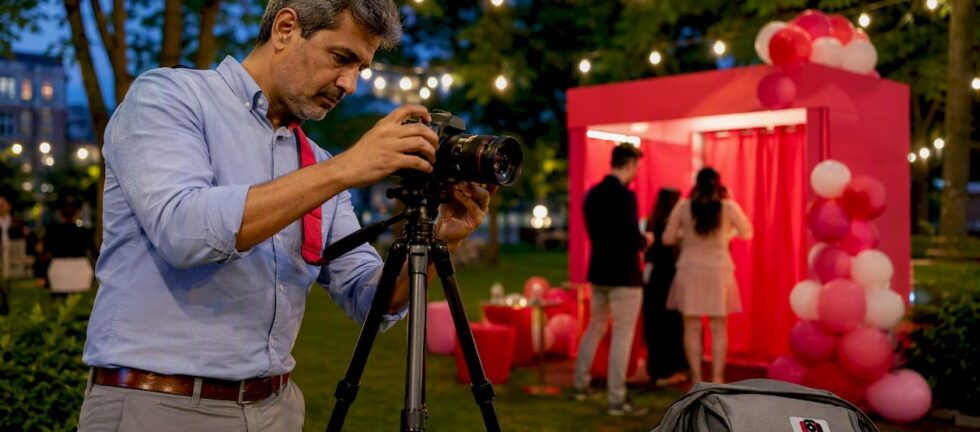
For weddings and galas, choose a studio-grade DSLR booth. For trade shows, lobby activations, and high-traffic corporate events, a tablet or iPad station is the smarter fit. Here is the quick breakdown before we go deeper:
- Wedding or gala (dim ballroom, evening lighting): DSLR rig with studio strobes. Image quality and frame-worthy prints are non-negotiable, and low-light performance is where tablet cameras fall apart.
- Corporate brand activation (conference hall, well-lit booth space): Tablet station. Fast throughput, instant social sharing, and unattended operation make it the practical choice.
- Trade show or retail pop-up: Tablet or iPad kiosk. Compact footprint, quick setup, and digital sharing drive opt-in data capture efficiently.
- Small private party (birthday, shower, casual gathering): Either works. A tablet station keeps costs down; a DSLR rig delivers noticeably better prints if the host wants keepsakes.
ZATTU PHOTO BOOTH runs both formats across Southwestern Ontario, so the guidance below comes from real operational experience, not theory.
Table of Contents
- How do studio (DSLR) and tablet booths compare across what planners care about?
- Which booth fits your venue and event size?
- Why does lighting make or break your booth photos?
- Which features matter most for guest experience and deliverables?
- What do photo booths cost in Canada?
- Day-of planning: what space, power, and staffing do you need?
- What should you check before you hire a photo booth vendor?
- Why ZATTU PHOTO BOOTH chooses studio-grade setups for high-end events
- What is the right approach, and what are your next steps?
- Key takeaways
- What we have learned from running both formats
- ZATTU PHOTO BOOTH serves both formats across Southwestern Ontario
- Useful sources for further reading
How do studio (DSLR) and tablet booths compare across what planners care about?
The comparison of booth types below maps the eight dimensions that matter most when you are vetting a vendor quote or briefing a venue.
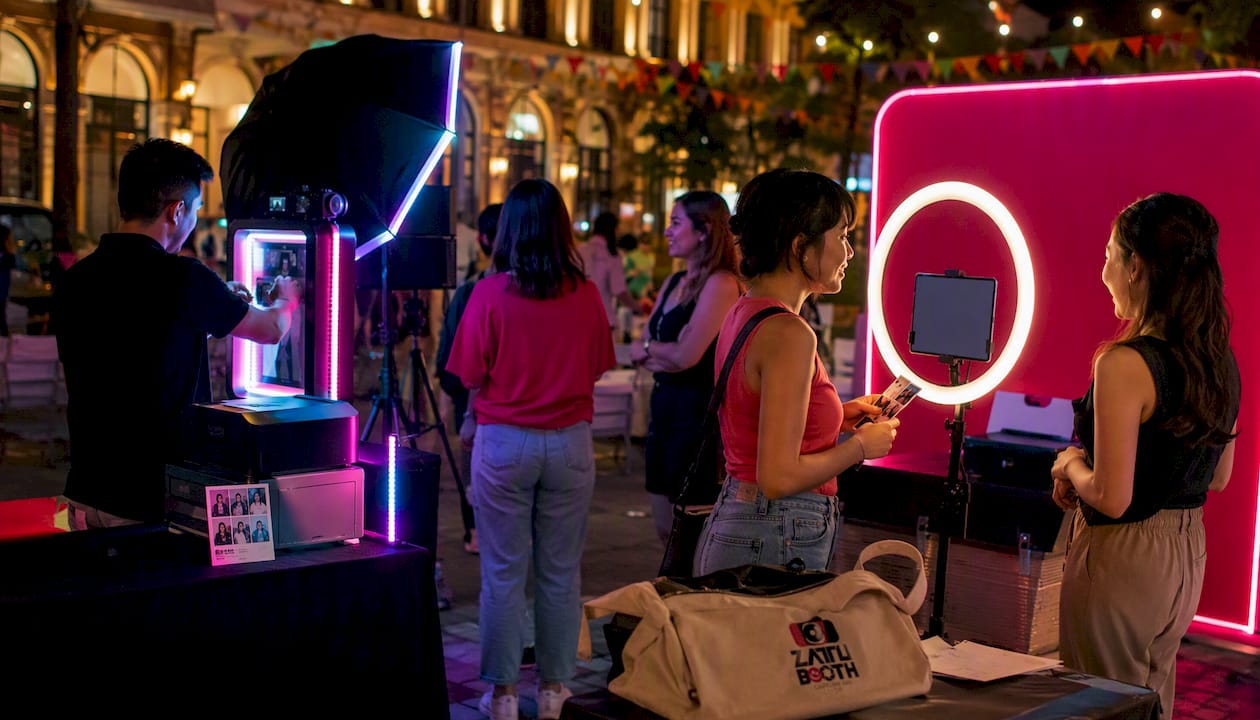
| Dimension | Studio DSLR booth | Tablet / iPad booth |
|---|---|---|
| Image quality / low-light | Full-frame or APS-C sensor, fast prime lens; handles dim venues without grain | Small sensor, fixed lens; struggles in low or mixed light without add-on strobes |
| Printing & print speed | Dye-sublimation printer; typically 40–60 print sessions per hour | Dye-sub optional; when included, same printer speed, but often digital-only |
| Guest throughput | 40–60 sessions/hr (gated by print delivery and attendant coaching) | 60–90 sessions per hour at peak in self-serve mode |
| Footprint & setup time | Larger rig, flight cases, backdrop stand, strobe heads; 60–90 min setup | Compact kiosk or stand; 20–30 min setup, lighter load-in |
| Price / what’s included | Higher day rate; typically includes attendant, prints, backdrop, props | Lower day rate; may be digital-only; attendant optional |
| Branding & customisation | Custom print templates, backdrop, props, overlay graphics | Digital overlays, GIF templates, branded start screens; print templates when printer is included |
| Digital sharing / integrations | Email, SMS, QR code delivery; social sharing available | Native social sharing, instant SMS/email, AR filters, GIF and Boomerang output |
| Staffing requirements | On-site attendant strongly recommended; essential for DSLR and print management | Can run unattended; attendant optional for premium activations |
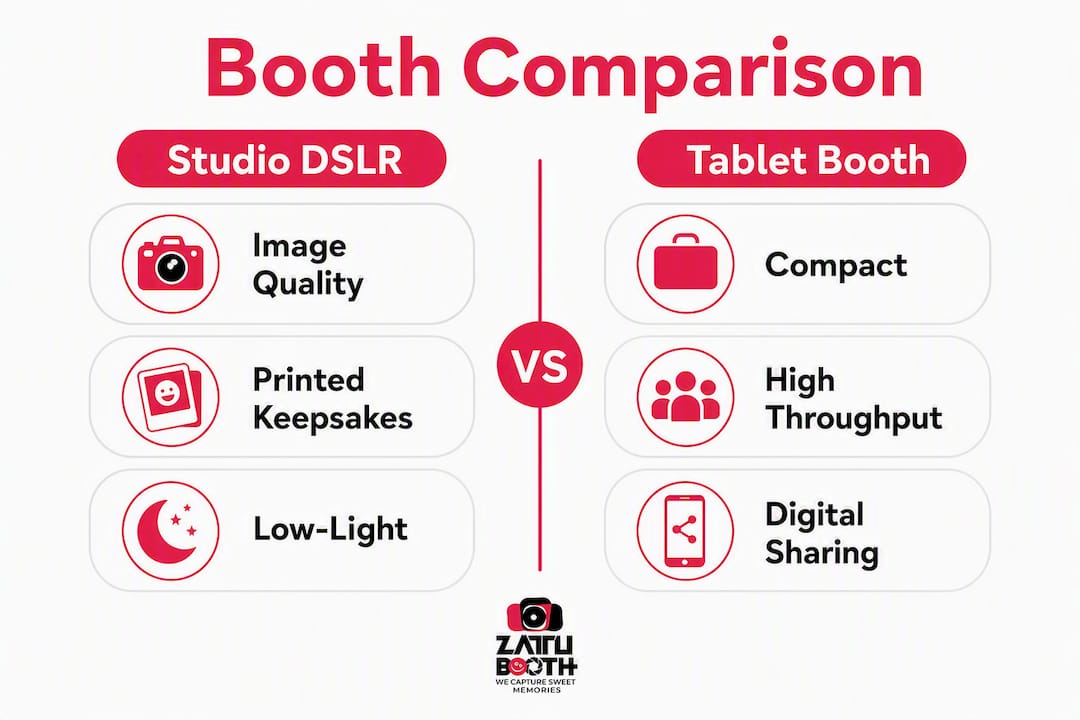
Studio DSLR pros: superior low-light images, tactile printed keepsakes, editorial portrait quality, attendant-led experience that feels premium.
Studio DSLR cons: higher cost, larger footprint, slower throughput, requires reliable power and space for strobe heads.
Tablet booth pros: fast setup, high throughput, compact, lower price point, strong digital and social sharing pipeline.
Tablet booth cons: image quality drops in dim or mixed light, prints are often an add-on rather than standard, less control over depth of field and facial lighting.
Which booth fits your venue and event size?
Deploying the wrong format for a venue costs you on operational fit, not just image quality. Here is how common scenarios break down.
-
Ballroom wedding or gala (100–400 guests, evening, dim ambient light): DSLR studio booth. The venue’s candlelight or warm wash lighting is exactly where tablet cameras produce noisy, flat images. Studio strobes shape faces and separate subjects from the background. Prints are expected by guests and valued by hosts.
-
Corporate conference or trade show (well-lit convention hall, 200+ attendees): Tablet station. High throughput, unattended operation, and instant social sharing align with the activation’s data-capture goals. Footprint matters here too; a compact kiosk fits a 10×10 ft booth space without crowding.
-
Corporate gala or awards dinner (hotel ballroom, evening): DSLR rig. Same logic as a wedding: dim light, high expectations, and guests who will frame the print. A glam photo booth with studio lighting is the natural fit.
-
Retail pop-up or lobby activation (unattended, daytime, well-lit): Tablet kiosk. Remote device management, low theft risk, and quick teardown make tablets the sensible default for always-on or multi-location installs.
-
Nightclub or lounge (very low ambient light, high energy): DSLR with ring light or strobe. Tablet cameras in nightclub conditions produce unusable images. If budget is tight, a ring-lit tablet is a step up from screen flash, but a DSLR rig is the reliable choice.
-
Small private party or birthday (home, rented hall, 30–80 guests): Tablet station or selfie photo booth for casual fun and easy setup. Upgrade to DSLR if the host wants gallery-quality prints.
-
Marquee or outdoor tent (variable light, wind, uneven ground): DSLR with portable strobe kit. Outdoor light changes fast; a controlled strobe setup keeps results consistent regardless of cloud cover or time of day.
Borderline case: large corporate gala with 500+ guests where both print quality and throughput matter. The best answer is often one DSLR studio booth as the hero experience plus a tablet roaming unit to handle overflow and social sharing. The two formats complement each other rather than compete.
Pro Tip: Ask your venue coordinator for the lighting plan before you book a booth. If the room dims below 200 lux during the event, a DSLR rig is not a luxury, it is the only way to guarantee clean images.
Why does lighting make or break your booth photos?
Lighting is the single biggest performance differentiator between studio rigs and tablet booths, and it matters more than sensor megapixels.
Here is why the gap is so wide:
- Sensor size: A full-frame or APS-C DSLR sensor gathers far more light per pixel than a tablet’s small sensor. At ISO 800 or above, tablet images show visible grain; DSLR images stay clean.
- Lens speed: Studio rigs use fast prime lenses (f/1.8–f/2.8) that let in more light and create a shallow depth of field, separating subjects from the background. Tablet lenses are fixed and slow.
- Strobe vs screen flash: A tablet’s screen “flash” is a bright white display held close to the subject. It creates flat, harsh light with no shadow control. Multi-point studio strobes shape the face, add dimension, and can be modified with softboxes or umbrellas.
- Three-point lighting: Professional setups use a key light, fill light, and hair or background light. This separates the subject from venue ambient light and produces the warm, dimensional look guests associate with professional photography.
- ISO noise: In a dim ballroom, a tablet booth pushed to high ISO produces noisy, blurry images. A DSLR rig with strobes fires at low ISO every time, regardless of venue brightness.
When reviewing a vendor’s portfolio, ask specifically for images shot in a venue similar to yours, at the same time of day or evening. A vendor who can only show you outdoor daytime shots has not demonstrated low-light capability.
Pro Tip: Ask vendors to show you a raw, unedited sample from a dim ballroom or evening event. Edited portfolio shots can hide noise and colour casts that will appear in your guests’ actual prints.
Some tablet operators add Bluetooth strobes or external ring lights to improve low-light results. This helps, but it also adds complexity, battery management, and extra failure points. Operators who take this route accept higher setup overhead in exchange for better images, and the results still rarely match a purpose-built DSLR rig with matched strobes.
Which features matter most for guest experience and deliverables?
Prints and instant sharing drive the most guest satisfaction, and the two booth types deliver them differently.
The features that most affect guest delight and brand reach are, in order: instant physical prints, branded digital delivery, and interactive elements like GIFs or AR filters. The booth type shapes which of these you can deliver well.
- Prints: Dye-sublimation prints from a DSLR rig are noticeably sharper and more vibrant than prints from a tablet booth, because the source image is higher quality. Branded print templates add marketing value for corporate clients and make keepsakes feel intentional.
- Guest flow: Tablet booths run a touch-screen UI that most guests navigate without help. DSLR booths are attendant-led, which slows individual sessions slightly but produces more consistent, flattering results. Tablet stations can handle 60–90 sessions per hour while DSLR rigs with print delivery typically reach 40–60.
- GIFs and AR filters: These are native strengths of tablet platforms. The software ecosystems built for iPad booths (Snappic, Darkroom, and similar apps) offer GIF, Boomerang, and AR filter modes out of the box. DSLR rigs can produce GIFs, but it is a secondary feature rather than a primary one.
- Social sharing: Both formats support email, SMS, and QR code delivery. Tablet booths tend to have more polished social-sharing UX and higher opt-in rates because the workflow is entirely digital from the start.
- Privacy and data handling: Tablet booths that capture email or phone numbers for digital delivery must comply with Canada’s Anti-Spam Legislation (CASL) and applicable privacy obligations. Ask vendors how guest data is stored, who has access, and when it is deleted. DSLR booths that offer print-only delivery collect less personal data by default, which can simplify compliance for some corporate clients.
What do photo booths cost in Canada?
Studio-grade DSLR packages and tablet stations sit in meaningfully different price bands, and knowing the drivers helps you compare quotes fairly.
As a general estimate for the Canadian market:
- Tablet / iPad station (digital-only, unattended): roughly $400–$700 for a 3–4 hour event, depending on software features and travel.
- Tablet station with dye-sub prints and attendant: roughly $700–$1,100 for a similar window.
- DSLR studio booth with prints, attendant, and backdrop: roughly $1,000–$1,800 for a 3–4 hour event. Premium packages with custom branding, extended hours, or specialty backdrops sit higher.
These are market estimates; actual quotes vary by provider, location, and package scope.
The main cost drivers are:
- Equipment: A DSLR rig with matched strobes, a full-frame mirrorless body, and a dye-sublimation printer represents a significantly higher capital investment than a tablet kiosk. DSLR operators often recoup that investment across 8–15 paid events because premium packages command higher day rates.
- Attendant labour: An on-site attendant adds cost but also adds reliability. For DSLR bookings, an attendant is effectively non-negotiable.
- Dye-sublimation paper and consumables: Print costs are real. Ask vendors whether prints are unlimited or capped, and what happens if you run out mid-event.
- Travel and setup time: Vendors in Southwestern Ontario may charge travel fees for events outside their home market. Confirm this upfront.
- Custom backdrops and branding: A custom-printed backdrop or branded print template adds to the quote but delivers measurable marketing value for corporate clients.
Pro Tip: When comparing quotes, ask for the printer make and model. A DNP DS620A or Mitsubishi CP-D90DW produces a noticeably better print than a generic thermal printer, and the difference shows up in every guest’s keepsake.
Day-of planning: what space, power, and staffing do you need?
Getting the logistics right before the event saves you from scrambling on the day. Here are the practical requirements for each format.
Minimum space and power:
- DSLR studio booth: plan for a footprint of roughly 10 ft × 10 ft (3 m × 3 m) to accommodate the backdrop, strobe heads, camera rig, printer table, and attendant station. You need at least one dedicated 15-amp circuit; two is better if the printer and strobes are on separate draws.
- Tablet kiosk: a 4 ft × 4 ft (1.2 m × 1.2 m) footprint is workable for the unit itself, though guests need clear approach space. A standard 15-amp outlet is sufficient.
Setup and teardown:
- DSLR rig, single operator: allow 75–90 minutes for setup and 45 minutes for teardown. Two-person team: 45–60 minutes setup, 30 minutes teardown.
- Tablet kiosk, single operator: 20–30 minutes setup and 15–20 minutes teardown.
- Both formats need a test session before guests arrive. Build 15 minutes of buffer into your run-of-show.
Venue questions to ask your vendor before the event:
- What is the load-in route and is there a freight elevator or loading dock?
- Where is the nearest dedicated electrical outlet and what is the circuit amperage?
- Does the venue permit flash photography or strobe lighting in the event space?
- Is there a hard floor, carpet, or uneven surface where the backdrop stand will sit?
- What is the permitted footprint per the venue’s floor plan?
Equipment failure contingency:
- Ask whether the vendor carries a backup printer or printer ribbon on-site.
- Confirm the vendor has a backup camera body or tablet for DSLR and tablet bookings respectively.
- For DSLR bookings, ask how the attendant handles a strobe failure mid-event (ambient-only fallback, reflector, or secondary light source).
- Confirm the vendor has a mobile data connection as a backup if the venue Wi-Fi is unreliable for digital sharing.
What should you check before you hire a photo booth vendor?
Use this checklist when vetting quotes. The non-negotiables come first.
Non-negotiables:
- Sample images shot in a venue with similar lighting to yours (evening ballroom, conference hall, outdoor tent).
- Proof of liability insurance, naming your venue if required.
- Printer make and model confirmed in writing, with unlimited prints or a clearly stated cap.
- Staffing level confirmed: attendant included or explicitly excluded.
- Data handling policy: how guest contact details are collected, stored, and deleted.
Technical questions:
- What camera body and lens does the DSLR rig use?
- What lighting setup is included (number of strobe heads, modifiers)?
- What software platform runs the booth, and does it support GIFs, social sharing, and branded templates?
- What is the print resolution and paper type?
Commercial questions:
- Is the quote flat-rate or does it include travel, setup, and teardown?
- What add-ons (extra hours, custom backdrop, rush print delivery) are priced separately?
- What is the cancellation and rescheduling policy?
Logistic questions:
- What is the setup and teardown time, and who is responsible for coordinating with the venue?
- Does the vendor carry backup equipment on-site?
Red flags to watch for:
- Vendor cannot supply sample photos from a dim or evening venue.
- No backup printer or consumables on-site for a print booking.
- DSLR booking offered without an on-site attendant.
- Vague or absent data handling policy for digital capture.
- Quote does not specify the printer model or paper type.
For a deeper vendor-vetting guide, how to choose a photo booth to hire walks through the full process.
Why ZATTU PHOTO BOOTH chooses studio-grade setups for high-end events
At ZATTU PHOTO BOOTH, the decision to build around studio-grade Nikon full-frame mirrorless cameras and professional lighting was not about gear for its own sake. It came from a straightforward observation: at weddings and galas, guests expect prints they will actually frame, and dim ballroom lighting is unforgiving to anything less than a proper strobe setup.
Our typical pre-event workflow for a wedding or gala booking:
- Venue walkthrough or floor plan review 1–2 weeks before the event to confirm placement, power access, and load-in route.
- Equipment check the day before: camera body, lenses, strobe heads, printer, paper stock, and backup consumables.
- On-site setup 90 minutes before guests arrive, with a full test session before the room opens.
- Attendant on-site for the full booking window, managing guest flow, coaching poses, and handling any print or software issues immediately.
Pro Tip: Place the booth near the main entrance or bar area, not tucked in a corner. Visibility drives usage. Guests who see others using the booth are far more likely to join in.
For planners, the practical takeaway is this: ask your vendor for their pre-event checklist. A vendor who has one is a vendor who has thought through what can go wrong. A vendor who improvises on the day is a risk you do not need.
What is the right approach, and what are your next steps?
For image-first, high-end events, choose a DSLR studio booth. For high-throughput or unattended activations, a tablet station delivers better operational fit. When budget allows, pairing one of each gives you the best of both: editorial portraits and prints at the hero station, fast digital sharing and overflow capacity at the tablet unit.
Practical next steps:
- Shortlist two or three vendors and request sample images from a venue that matches yours in lighting and scale.
- Confirm the printer make and model, staffing level, and data handling policy in writing before signing.
- Book early for peak seasons (May through October in Ontario, and the December holiday window). Studio-grade vendors with full equipment kits book out months in advance.
- If your event is in a dim or mixed-light venue, photo booth lighting is worth understanding before you brief vendors.
ZATTU PHOTO BOOTH serves weddings, galas, corporate events, and private parties across Southwestern Ontario. Reach out for a no-pressure consultation and a flat-rate quote matched to your event.
Key takeaways
Studio-grade DSLR booths deliver the image quality and printed keepsakes that high-end events demand; tablet stations win on speed, footprint, and digital sharing for well-lit or high-throughput activations.
| Point | Details |
|---|---|
| Match booth type to venue light | DSLR rigs handle dim ballrooms reliably; tablet cameras struggle without add-on strobes. |
| Throughput trade-off | Tablet stations reach 60–90 sessions per hour; DSLR rigs with prints average 40–60. |
| Budget realistically | DSLR studio packages in Canada typically run higher than tablet-only stations; confirm printer model and staffing in every quote. |
| Lighting over megapixels | Multi-point studio strobes shape faces and control shadows in ways screen flash cannot match. |
| ZATTU PHOTO BOOTH | Offers studio-grade Nikon full-frame mirrorless booths and iPad selfie stations across Southwestern Ontario for events of every scale. |
What we have learned from running both formats
Most planners come to us asking which booth is “better,” and the honest answer is that the question is slightly off. The better question is which booth is right for this venue, this guest count, and this deliverable. A tablet station at a well-lit conference is not a compromise; it is the correct tool. A DSLR rig at a candlelit gala is not an indulgence; it is the only way to guarantee the images your guests will want to keep.
What we have found, running both formats across Southwestern Ontario, is that the events where planners regret their choice are almost always ones where the booth type was chosen on price alone, without accounting for venue lighting. The gap between a clean, vibrant print from a full-frame sensor with studio strobes and a grainy, flat image from a tablet in a dim room is visible to every guest who picks up that print. That gap is the reason we built our service around studio-grade equipment first, with tablet stations as a genuine complement rather than a fallback.
ZATTU PHOTO BOOTH serves both formats across Southwestern Ontario
Studio-grade DSLR portraits or fast-and-fun iPad activations: ZATTU PHOTO BOOTH brings both to your event, owner-operated, with professional lighting and flat-rate pricing that covers everything from setup to the last print.
For weddings and galas, our studio photo booth delivers full-frame Nikon mirrorless images, matched studio strobes, dye-sublimation prints, a custom backdrop, and an on-site attendant for the full event window. For corporate activations, trade shows, and casual parties, our selfie photo booth offers a compact, high-throughput iPad station with instant digital sharing and branded templates. Both formats include personalized setup support and the reliability of an owner-operated service.
Ready to lock in the right booth for your event? Request a quote and we will match you to the right package, confirm availability, and walk you through every detail before you sign anything.
Useful sources for further reading
- DSLR vs iPad Photo Booth: Complete 2026 Comparison Guide (BoothLedger) — the most thorough operator-level breakdown of image quality, throughput, and ROI for both formats; best for technical and commercial decision-making.
- Why studio-grade booths suit high-profile events (ZATTU PHOTO BOOTH) — ZATTU PHOTO BOOTH’s own breakdown of what separates studio-grade equipment from entry-level options, with specific reference to Nikon full-frame mirrorless rigs and professional lighting.
- How photography shapes your wedding venue choice (Adelaide Wedding Venues) — useful context on how venue design and lighting interact with photography outcomes, relevant for planners choosing booth placement.