

Photo booth floor space planning is the process of strategically allocating and organising the physical space needed for a photo booth, its queue, operator area, prop table, and social interaction zones at an event. Get it right and guests flow through effortlessly. Get it wrong and you end up with a bottleneck that disrupts the entire room. The industry standard footprint for a basic open-air booth starts at 8×8 to 10×10 feet, and that number grows significantly once you factor in queue management, operator workspace, and prop display. Whether you are planning a wedding in Kitchener or a corporate gala in Hamilton, precise spatial planning is what separates a memorable photo experience from a logistical headache.
What is photo booth floor space planning and why does it matter?
Photo booth floor space planning, known in the event industry as booth footprint planning, is the structured process of calculating and assigning every square foot a photo booth setup requires. This goes well beyond the device itself. A complete footprint includes the booth structure, backdrop, lighting, the guest queue corridor, the operator station, and the prop table.
Poor planning creates congestion that spills into dining areas, dance floors, and emergency exits. Good planning turns the booth into a natural gathering point that guests gravitate toward without disrupting the rest of the event. The difference between the two is usually a matter of measuring carefully before the day of the event, not after.
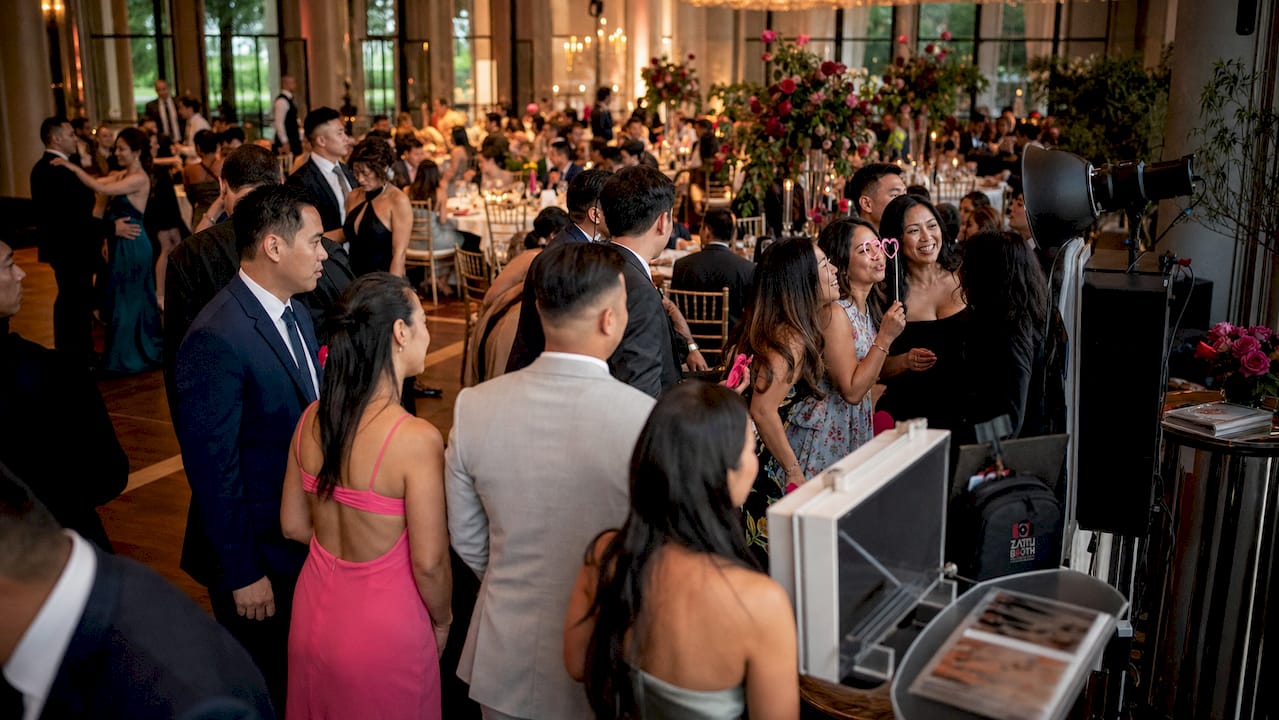
ZATTU PHOTO BOOTH works with event planners across Southwestern Ontario to map out booth placements before setup day. That pre-event dialogue catches problems like low ceilings, distant power outlets, and narrow corridors before they become real issues.
What are the standard space requirements for different photo booth types?
Every booth type carries a different spatial demand, and planners who treat them as interchangeable end up undersizing their allocations.
Open-air booths require a minimum of 8×8 feet, though 10×10 feet is the comfortable working standard. That extra two feet on each side gives guests room to pose naturally without bumping into lighting stands or backdrop frames. Mirror booths and glam booths share a similar footprint but add vertical demand. Ceiling height requirements sit at a minimum of 8–10 feet, and glam booth lighting rigs often need an additional 2–3 feet of overhead clearance beyond that.
360-degree video booths are the most space-intensive option on the market. They require 10×10 to 14×14 feet of floor space to allow the rotating arm to sweep around guests safely. That footprint alone can consume a significant portion of a smaller venue’s available floor area, which is why early venue consultation is non-negotiable for this booth type.
| Booth type | Minimum footprint | Notes |
|---|---|---|
| Open-air booth | 8×8 ft | Add 10×10 ft for comfortable use |
| Mirror booth | 8×8 ft | Requires 8–10 ft ceiling clearance |
| Glam booth | 8×8 ft | Needs 2–3 ft extra overhead for lighting |
| 360-degree video booth | 10×10 to 14×14 ft | Rotational clearance is mandatory |
| Enclosed/pod booth | 6×6 ft | Smaller footprint, but limits group size |
Pro Tip: Always add the backdrop and lighting stand dimensions to your booth footprint calculation. A standard backdrop frame adds roughly 1–2 feet of depth behind the booth structure.
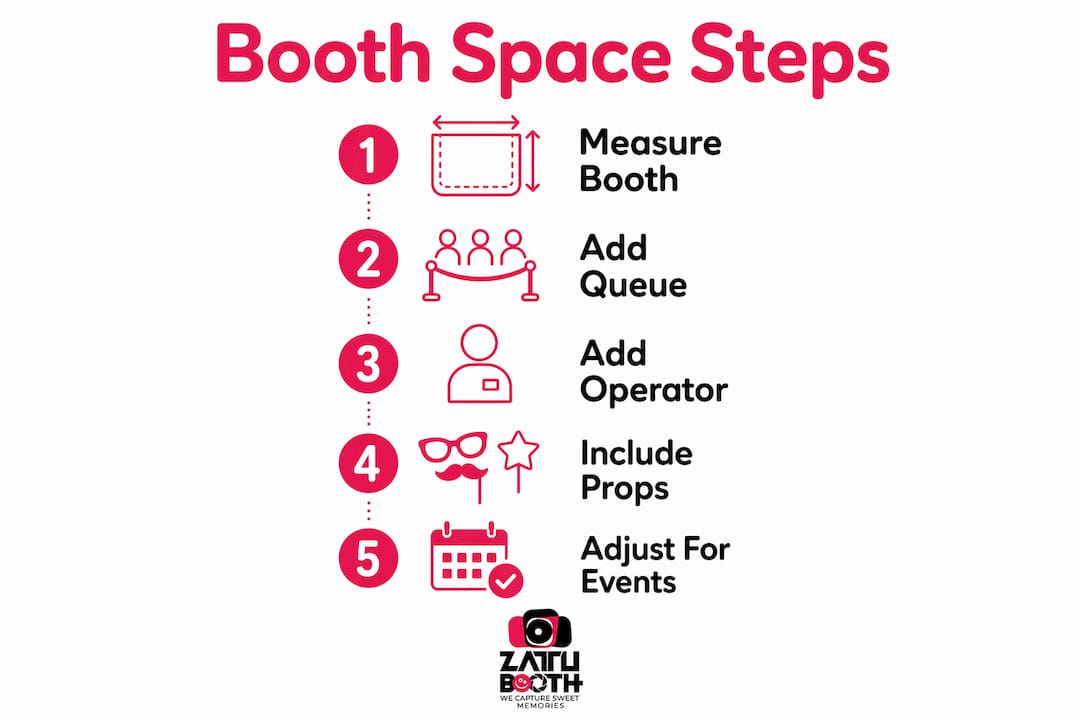
How to incorporate queue, operator area, and prop tables into your floor plan
The booth structure itself is only one part of the total photo booth space requirement. A complete floor plan for photo booths must account for three additional zones.
- Guest queue corridor: Plan for 6–8 feet of queue depth behind the active capture zone. At a busy event with 150 or more guests, this corridor fills quickly. Sizing it at 8 feet gives guests room to stand comfortably without spilling into adjacent event areas.
- Operator station: The attendant needs roughly a 3×3-foot workspace beside or behind the booth. This space holds the laptop, print station, and any technical equipment. Cramping the operator into a corner slows response time when technical issues arise.
- Prop table and social zone: Prop tables and social gathering areas typically require an extra 4×4 feet adjacent to the booth. This zone is where guests browse props, share laughs, and review their photos. Skipping it means guests linger in the queue corridor instead, which creates a different kind of congestion.
A practical formula for total footprint: add the booth base dimensions, plus 8 feet for the queue, plus 3×3 feet for the operator, plus 4×4 feet for props and social space. For a standard open-air booth, that calculation produces a total working area of roughly 10×22 feet. That number surprises most planners the first time they run it.
Weddings with large gowns or corporate events with big group photos need 20–30% more space than the bare minimum. Build that buffer into your floor plan before you commit to a venue layout.
What venue and technical factors affect photo booth space design?
Venue conditions shape photo booth space design as much as the booth type does. Planners who ignore these factors during site visits often face costly last-minute adjustments.
- Ceiling height: Verify ceiling clearance on-site during your venue walkthrough. Experienced planners check ceiling height rather than relying on standard room dimensions listed in venue brochures. A room rated at 10 feet may have decorative beams or HVAC ducts that reduce usable clearance to 8 feet.
- Flooring stability: Uneven surfaces and thick carpet compromise equipment stability and photo quality. Flooring stability is essential for both safety and image sharpness. Hard, level surfaces like hardwood, tile, or polished concrete are ideal.
- Power access: The power source must be within 25 feet of the booth. Vendors typically need a dedicated circuit to avoid tripping breakers during peak use. Running extension cords across high-traffic walkways creates a trip hazard and a liability issue.
- Lighting conditions: Natural light from windows can wash out booth photos if the backdrop faces a bright source. Position the booth so that ambient light comes from the side or rear, not directly in front of the camera.
- Noise and traffic proximity: Placing a booth directly beside a DJ speaker or a busy bar service area creates noise interference and congestion. A 4–6-foot buffer from high-traffic nodes keeps the experience pleasant without isolating the booth.
- Vendor load-in timing: Vendors typically require 60–90 minutes before the event start for setup and testing. Reserve that time window in your venue access schedule and confirm it with the venue coordinator.
Pro Tip: Walk the venue with a tape measure, not just your eyes. Distances look shorter in an empty room than they do once tables, chairs, and guests fill the space.
How to optimise photo booth placement for traffic flow and guest engagement
Strategic placement turns a photo booth from a passive activity into an active driver of guest engagement. The goal is visibility without obstruction.
- Place near social hubs: Positioning a booth near a bar, cocktail lounge, or pre-dinner reception area puts it where guests already gather. Placement near natural traffic nodes increases guest engagement, but requires 4–6-foot buffer zones to prevent bottlenecks.
- Use the booth as a traffic influencer: A booth placed in a secondary area of the venue can spread guest density and relieve congestion at busy points like buffet lines and bars. This is one of the most underused placement strategies in event planning.
- Avoid hidden corners: A booth tucked behind a pillar or around a corner sees dramatically lower use. Guests need a clear sightline to the booth from at least two directions.
- Structure three distinct zones: Plan a clear ingress path for guests approaching the booth, a defined capture zone for posing, and a separate egress path for guests leaving with their prints or digital files. Mixing ingress and egress creates a pinch point that slows the entire experience.
- Separate the greeter from the capture station: Separating the greeter from the photo capture station can boost throughput efficiency by 20–40%. The greeter handles prop selection and group organisation while the operator manages the camera and output.
Placing a photo booth strategically in a secondary area of the venue can spread guest density and relieve congestion at busy points. A booth is not just entertainment. It is a crowd management tool when placed with intention.
Planners who want to understand how booth placement affects engagement will find that the spatial decisions made before the event have the greatest impact on how many guests actually participate.
Key takeaways
Effective photo booth floor space planning requires calculating the full working footprint, including queue, operator, and prop zones, then matching that footprint to verified venue conditions before event day.
| Point | Details |
|---|---|
| Total footprint exceeds booth size | Add queue (6–8 ft), operator (3×3 ft), and prop zone (4×4 ft) to the booth base dimensions. |
| Booth type determines space demand | 360-degree booths need up to 14×14 ft; open-air booths start at 8×8 ft. |
| Venue conditions must be verified on-site | Check ceiling height, flooring stability, and power proximity during your walkthrough. |
| Placement drives guest participation | Position near social hubs with buffer zones and clear ingress and egress paths. |
| Separate greeter from capture station | This layout improves throughput by 20–40% and reduces operator workload at busy events. |
What I have learned from planning photo booth spaces at real events
By George ZATTU
The detail that catches most planners off guard is what I call the “chaos factor.” A wedding with large ball gowns, a corporate event with groups of eight posing together, or a kids’ birthday party with props flying everywhere all demand 20–30% more floor space than the technical minimum. The numbers on paper look fine. The reality on the night is a different story.
The ceiling height check is the one I push hardest during venue walkthroughs. I have seen beautiful venues with ornate ceiling features that dropped usable clearance by two feet. That two feet is the difference between a glam booth with full overhead lighting and a glam booth that cannot deploy its rig at all.
The greeter separation strategy is something I adopted after watching operators get pulled in three directions at once. When one person handles props and group organisation and another manages the camera and output, guest cycle times drop and the whole experience feels polished rather than rushed. It is a small spatial decision with a large impact on guest satisfaction.
The prop table is the most consistently underplanned element I see. Planners allocate space for the booth and forget that guests spend as much time at the prop table as they do in front of the camera. Give it room. It pays back in energy and engagement.
— George ZATTU
ZATTU PHOTO BOOTH’s approach to event space planning
Planning a photo booth setup involves more variables than most event planners expect the first time. ZATTU PHOTO BOOTH handles the spatial planning as part of every booking, from initial consultation through to setup day.

Whether you are booking a party photo booth rental for a birthday celebration in Waterloo or a full corporate activation in Hamilton, the team walks through venue dimensions, power access, ceiling clearance, and traffic flow before a single piece of equipment arrives. Every booth type in the ZATTU PHOTO BOOTH catalogue comes with a recommended floor plan, and the team adjusts that plan to fit your specific venue. You bring the guest list. We bring the expertise to make the space work.
Request a quote at zattuphotobooth.ca and get a personalised space planning consultation included with your booking.
FAQ
What is the minimum space needed for a photo booth?
A standard open-air photo booth requires a minimum of 8×8 feet, but the full working footprint including queue, operator, and prop zones typically reaches 10×22 feet.
How much queue space should I plan for a photo booth?
Plan for 6–8 feet of queue depth behind the active capture zone. Larger events with 150 or more guests benefit from the full 8-foot allocation to prevent spillover into adjacent areas.
What ceiling height does a photo booth need?
Most photo booths require a minimum of 8–10 feet of ceiling clearance. Glam booths and setups with overhead professional lighting need an additional 2–3 feet beyond that minimum.
Where is the best place to position a photo booth at an event?
Place the booth near natural social hubs like bars or cocktail areas, with a 4–6-foot buffer zone. Avoid hidden corners and ensure guests have clear sightlines to the booth from at least two directions.
How early does a photo booth vendor need access to the venue?
Vendors typically require 60–90 minutes before the event start for setup and testing. Confirm this access window with your venue coordinator when finalising the event timeline.