

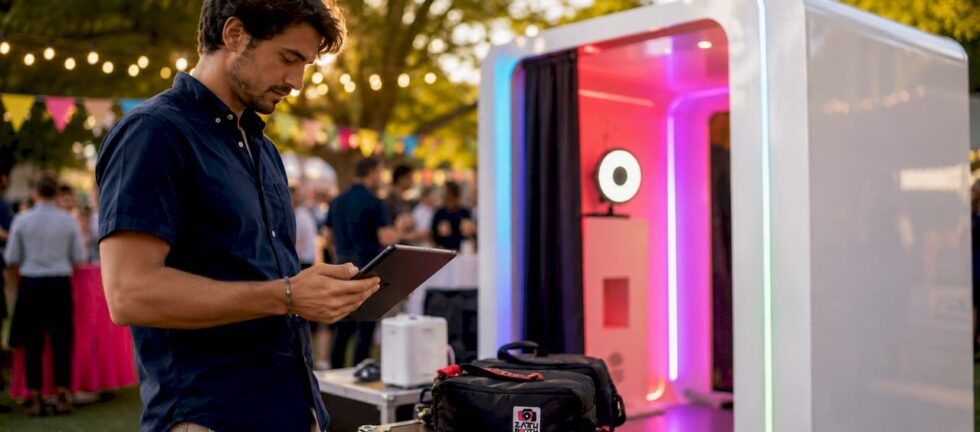
Photo booth custom design is defined as the process of tailoring both the physical booth hardware and the digital software to create a branded, event-specific guest experience. It goes far beyond choosing a backdrop colour. Every element, from the enclosure shape to the on-screen welcome message, can be modified to reflect your event’s personality. ZATTU PHOTO BOOTH builds these experiences for weddings, corporate galas, and birthday parties across Southwestern Ontario, using studio-grade Nikon full-frame mirrorless cameras and professional lighting to ensure every customised detail shows up beautifully in the final print.
What are the key elements of photo booth custom design?
Custom photo booth design involves tailoring both hardware and software to match event branding. Projects range from simple logo placement on an existing kiosk to building an entirely unique enclosure with a bespoke digital interface. That range means there is a meaningful option at almost every budget and event scale.
Hardware customisation
The physical booth itself is the first canvas. Custom hardware options include enclosure shape, materials, lighting rigs, and camera systems. A sleek black acrylic tower reads differently than a vintage wooden cabinet, and that visual difference sets the tone before a single photo is taken.
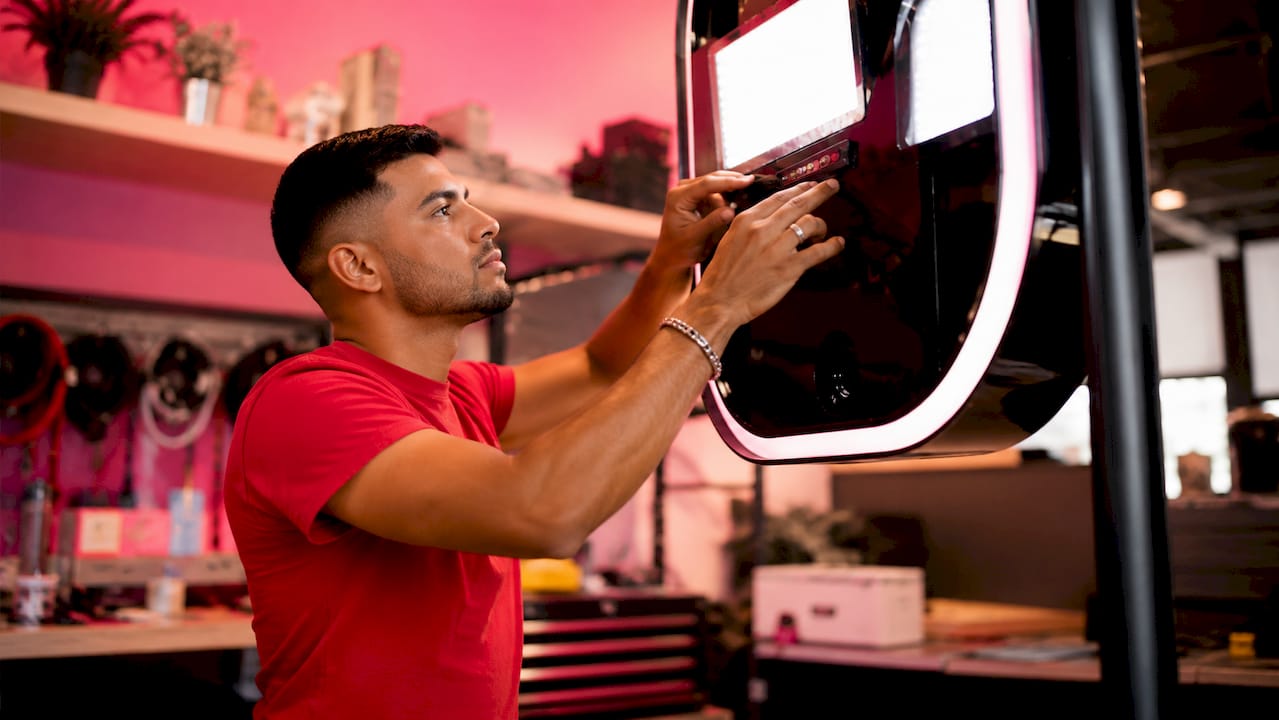
Lighting is one of the most underrated hardware choices. Ring lights, softboxes, and LED panels each produce a distinct look on skin tones and clothing. Choosing the right lighting system for your venue’s ambient conditions is as important as any graphic design decision.
Software and digital customisation
On the software side, the customisation options are equally broad:
- Welcome screen branding: Your event name, logo, or a custom animation greets guests before they step in front of the camera.
- Print layout templates: Choose portrait, landscape, or strip formats with your chosen colour palette and typography.
- Custom photo booth overlays: Digital frames that sit on top of every image, adding logos, dates, and themed graphics.
- Sharing features: Guests can receive photos by text or email, with branded subject lines and landing pages.
- Special modes: GIF creation, boomerang, slow motion, and AI-powered filters are all configurable per event.
Pro Tip: Book a test session with your vendor at least two weeks before your event. Seeing the full hardware and software setup in action lets you catch any design mismatches before the night itself.
When backdrops, props, and overlays combine into a cohesive design, the booth becomes what designers call “emotional architecture.” Guests do not just take a photo. They step into a moment that feels intentional and memorable.
Why are custom photo booth overlays so important?
A custom photo booth overlay is a digital frame that adds event-specific details directly onto every photo. It functions as an organic marketing tool. Every time a guest shares their image on social media, the overlay travels with it, making it one of the most widely distributed assets from any event.
What goes into an effective overlay design?
Strong overlays share a few consistent traits:
- Logo placement: Positioned at the top or bottom edge, never centred over faces.
- Event date and name: Kept small but legible, typically in the lower third.
- Themed graphics: Florals for weddings, geometric shapes for corporate events, bold typography for milestone birthdays.
- Colour palette alignment: Overlay colours should match the event’s overall visual identity.
Simple, focused overlays increase shareability and long-term memory value. Overly complex designs reduce legibility in both print and mobile views. The rule is straightforward: if you cannot read the overlay at arm’s length on a phone screen, it needs to be simplified.
Technical requirements for overlays
An overlay is not a logo stamp. It is a full-layout graphic precisely dimensioned to the photo booth’s output, with a cutout that allows the photo to show through clearly. The design frames the image rather than obscuring guests.
| Requirement | Why it matters |
|---|---|
| Transparent PNG-24 or PNG-32 format | Allows the photo to show through the cutout area |
| Correct output dimensions | Prevents stretching or misalignment on prints and screens |
| Alpha channel included | Ensures clean edges around graphic elements |
| Design elements at image edges | Frames guests without covering faces or bodies |
| High resolution (300 DPI for print) | Keeps text and logos sharp on physical prints |
JPEG files lack transparency and will block the photo area entirely. Always supply your designer with a PNG file. That single technical detail separates a polished result from a frustrating one.
Pro Tip: Ask your vendor for the exact pixel dimensions of their booth’s output before you brief your graphic designer. Getting this number wrong means starting the design process over.
How does the custom design process work?
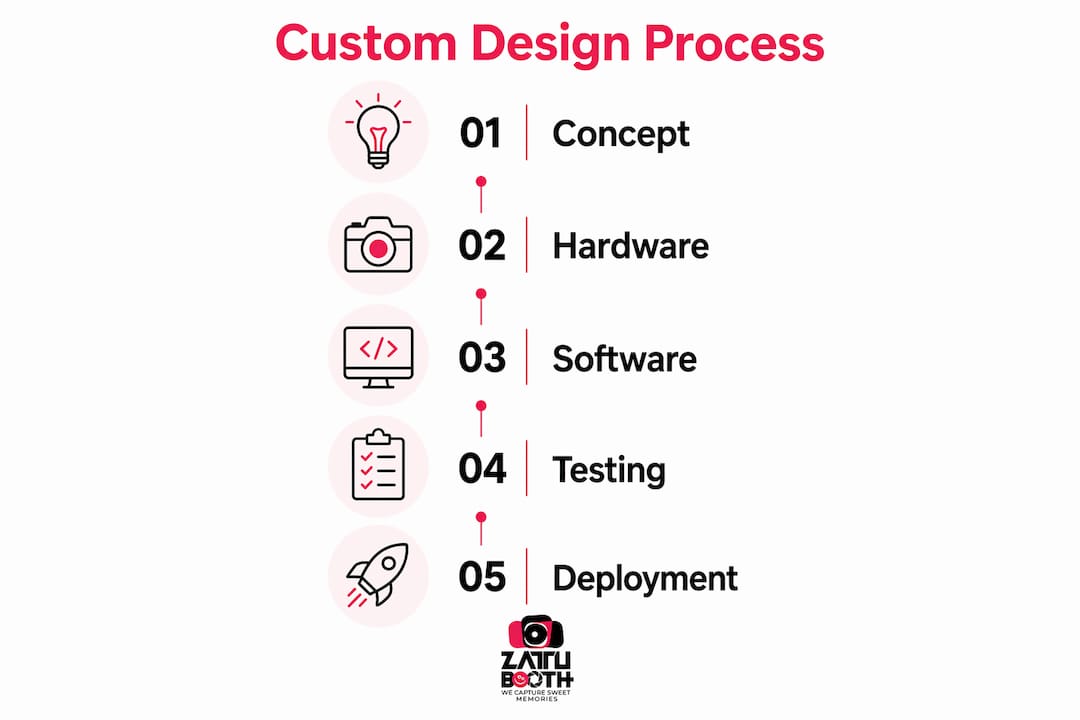
The custom design process follows a clear sequence, and knowing it in advance saves significant time and stress.
- Gather your inspiration. Collect mood boards, screenshots, and reference images that capture the look and feel you want. Concrete visual references vastly improve design originality and client satisfaction compared to verbal descriptions alone.
- Book a consultation. Share your inspiration with your vendor or design team. A good consultation surfaces technical constraints early, such as booth dimensions or software limitations, before any design work begins.
- Deliver your brand assets early. Provide your logo files, colour hex codes, preferred fonts, and any monograms as soon as possible. Best results require early asset delivery and multiple design revisions. Clients typically go through three or more revision rounds before final approval.
- Review and refine. Expect to see an initial draft, then iterate. Each revision round should focus on one or two specific changes rather than a full redesign.
- Test on the actual hardware. A design that looks perfect on screen can appear differently on a physical print or a booth’s touchscreen. Always test the final files on the real equipment before the event date.
For larger projects, hardware prototyping takes 6–10 weeks and software customisation requires 30–45 business days. That timeline means custom booth projects need to start months before the event, not weeks.
Pro Tip: If you are planning a wedding or large corporate event, lock in your photo booth vendor at least three months out. Custom design work has real lead times, and rushing the process almost always shows in the final product.
How do you maximise the impact of a custom photo booth at your event?
A well-designed booth only delivers its full value when it is integrated thoughtfully into the event experience. Design decisions do not stop at the booth itself.
- Coordinate your backdrop with your overlay. A floral backdrop paired with a floral overlay creates visual noise. Choose complementary rather than matching elements so each layer reads clearly in the photo.
- Match your props to your theme. Props are physical extensions of the booth’s visual identity. A black-tie gala calls for elegant handheld signs, not oversized plastic sunglasses.
- Position the booth for natural foot traffic. Place it near the bar, the dance floor entrance, or the dessert table. Guests naturally gather in these areas, and proximity drives participation without any prompting.
- Schedule a dedicated booth window. Announce a specific time when guests are encouraged to visit the booth, such as during cocktail hour or after dinner. This creates a shared moment rather than a trickle of individual visits.
- Enable digital sharing from the booth. Digital sharing features extend the reach of your event’s branding well beyond the venue walls. Every shared image is an organic impression for your event or brand.
A well-designed photo booth setup serves as a key part of an event’s emotional atmosphere and guest engagement. The booth is not a side attraction. When designed with intention, it becomes one of the most talked-about elements of the entire event.
Pro Tip: Add a QR code to your print layout that links to a shared album or your event’s social media page. Guests who want to relive the night have an instant path back to your brand.
Key takeaways
Custom photo booth design works best when hardware choices, overlay graphics, and software features are planned together as a single cohesive system, not as separate afterthoughts.
| Point | Details |
|---|---|
| Design covers hardware and software | Custom design includes enclosure shape, lighting, overlays, templates, and sharing features. |
| Overlays must be transparent PNGs | JPEG files block the photo area; always use PNG-24 or PNG-32 with an alpha channel. |
| Early asset delivery is critical | Provide logos, fonts, and colour codes as early as possible to allow multiple revision rounds. |
| Timelines are longer than expected | Hardware prototyping takes 6–10 weeks; software customisation takes 30–45 business days. |
| Booth placement drives participation | Positioning near high-traffic areas increases guest engagement without any extra effort. |
What I have learned from designing custom photo booth experiences
After working with hundreds of event planners and couples across Southwestern Ontario, the single biggest mistake I see is treating the photo booth as a last-minute detail. Clients call us six days before their wedding asking for a fully custom overlay, a branded backdrop, and a personalised welcome screen. We do our best, but the results are never as strong as when we have had three months to collaborate properly.
The second mistake is overloading the design. I have seen overlays with four logos, three fonts, a full colour gradient, and a paragraph of text. None of it reads clearly in a 4×6 print. The booths that generate the most social sharing are always the ones with the cleanest, most focused designs. One logo. One date. One strong graphic element. That is it.
What genuinely moves people is when the booth feels like it belongs at the event. When the overlay colours match the centrepieces, when the backdrop complements the dress, when the props feel curated rather than grabbed from a bin, guests notice. They do not articulate it, but they feel it. That feeling is what makes them share the photo, keep the print, and remember your event months later.
My honest advice: bring us a mood board, not a verbal description. Show us the invitation design, the floral arrangements, the venue’s colour palette. That visual context is worth more than an hour of conversation. The studio photo booth setup process we use at ZATTU PHOTO BOOTH is built around exactly this kind of deep collaboration, because the details are where the magic actually lives.
— George ZATTU
How ZATTU PHOTO BOOTH brings custom design to life
ZATTU PHOTO BOOTH offers fully customised photo booth experiences for events across Kitchener, Waterloo, Guelph, and Hamilton. Every booking includes a personalised consultation where we work through your event’s visual identity, from overlay design to backdrop selection and prop curation.
We use Nikon full-frame mirrorless cameras and professional lighting to make sure every custom design element, from your logo to your colour palette, looks exactly as intended in the final print. Our flat-rate pricing means no surprises, and our owner-operated model means the same team that designs your booth shows up on the night. Ready to see what a truly custom experience looks like? Explore our party photo booth rental options and request a quote to get started.
FAQ
What is photo booth custom design?
Photo booth custom design is the process of tailoring a booth’s hardware and software to match a specific event’s branding and theme. It includes enclosure modifications, custom overlays, branded templates, and personalised sharing features.
What is a custom photo booth overlay?
A custom photo booth overlay is a transparent digital frame placed over every photo, adding event details like logos, dates, and themed graphics. It must be saved as a PNG-24 or PNG-32 file with an alpha channel to allow the photo to show through clearly.
How far in advance should I book a custom photo booth?
For fully custom designs, book at least three months before your event. Hardware prototyping takes 6–10 weeks and software customisation requires 30–45 business days, so early planning is the only way to get the best results.
What files do I need to provide for a custom overlay?
Provide your logo in a vector or high-resolution PNG format, your colour hex codes, and your preferred fonts. Delivering these assets early allows your vendor to complete multiple revision rounds before the event.
Does custom design cost significantly more than a standard booth?
Pricing varies by vendor and the scope of customisation. Simple overlay and template changes are typically included in standard packages, while full hardware modifications carry additional costs. ZATTU PHOTO BOOTH uses flat-rate pricing, so the full scope is agreed upon before any work begins.