

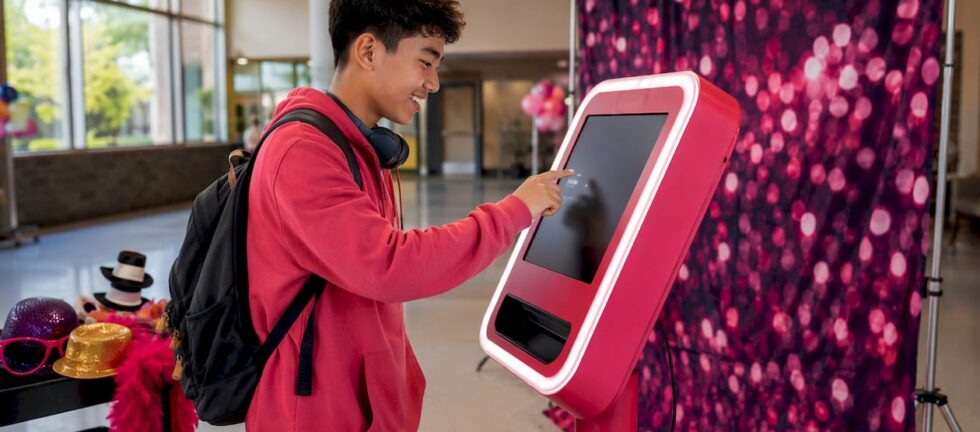
A school photo booth setup brings together five core elements: a camera, lighting, a backdrop, props, and a digital interface. Together, they create a self-contained memory-making station that works beautifully at school dances, graduation nights, spirit weeks, and fundraisers. Understanding how each piece fits together is what separates a smooth, joyful experience from a frustrating one.
Here is what a fully functional school photo booth involves:
- Camera: A DSLR or mirrorless camera (or a quality tablet camera) mounted on a tripod at chest-to-head height for flattering framing
- Lighting: Softboxes or LED panels positioned on both sides of the camera to eliminate harsh shadows
- Backdrop: A themed or school-branded fabric or shimmer wall, placed at least 3–4 feet behind the camera position
- Props: School-appropriate items like graduation caps, team pennants, and oversized glasses that encourage group participation
- Digital interface: A touchscreen tablet running photo booth software that lets students trigger shots and receive their photos instantly
- Delivery options: Printed strips for keepsakes, plus QR code or text delivery so students can share photos digitally within seconds
- Space: A standard open-air setup needs roughly 8×8 feet; 360-style booths require 10×10 feet or more
- Supervision: At least one attendant to manage props, assist students, and keep the line moving
The photo capture process itself is straightforward. A student steps in front of the backdrop, taps the screen to start a countdown, and the camera fires. The image processes through the software, applies any branded overlay, and delivers to the student’s phone or a print station within seconds. That instant gratification is a big part of why photo booths work so well with school-age crowds.
What equipment do you actually need for a school photo booth?
Getting the gear right is the foundation of the whole experience. A shaky tripod or blown-out lighting will ruin photos no matter how great the backdrop looks.
Core photographic equipment:
- A DSLR camera (Canon EOS or Nikon D-series) or a full-frame mirrorless body for sharp, vibrant images
- A sturdy, adjustable tripod that holds the camera at chest-to-head height
- Two softbox lights or LED panels positioned slightly above and to each side of the camera for even skin tones
- A backdrop stand with a fabric, shimmer, or paper backdrop in school colours or a themed design
Digital and software needs:
- A tablet or touchscreen display running dedicated photo booth software such as Simple Booth, Breeze, or Darkroom Booth
- A Wi-Fi hotspot, ideally a dedicated 5G or LTE connection, since public school Wi-Fi often causes app instability
- A dye-sublimation printer (DNP or Mitsubishi are reliable options) if you want instant printed strips
Safety and power:
- A power strip and extension cord to reach the nearest outlet reliably
- Gaffer tape to secure all cables flat against the floor, preventing trip hazards in high-traffic areas
- Spare camera batteries, SD cards, and a printed instruction sheet in case of software issues
Props and finishing touches:
- A curated prop box with school-appropriate items: team scarves, graduation caps, themed signs, and oversized frames
- Clear signage at the booth entrance showing students how to use the touchscreen
Pro Tip: Avoid ring lights for school events. They create a signature circular reflection in everyone’s eyes and flatten facial features. Two softboxes or LED panels at 45-degree angles produce far more flattering, natural-looking results.
How to set up a DIY photo booth for a school event
A DIY school photo booth is absolutely achievable with the right plan. The key is working through setup in a logical order so nothing gets missed before the doors open.
Step 1: Scout your location
Walk the venue before the event day. Look for a spot with a nearby power outlet, flat flooring, and enough foot traffic that students will notice the booth without it creating a bottleneck near an exit or food table. Avoid areas with large windows directly behind the backdrop, since natural light will fight your artificial lighting and cause inconsistent exposures.
Step 2: Assemble the backdrop and stand
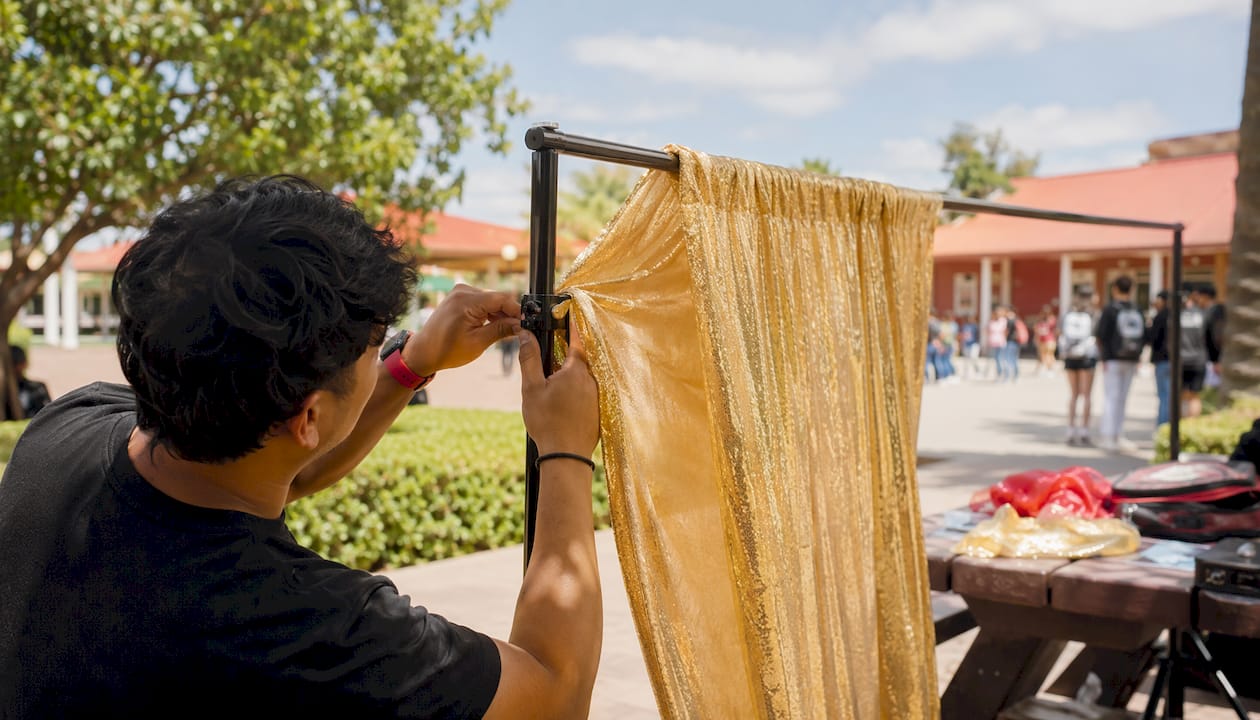
Set up the backdrop stand first and hang your fabric or shimmer backdrop. Leave at least 3–4 feet of space between the backdrop and where guests will stand. This gap prevents harsh shadows from falling on the backdrop and gives groups enough room to spread out.
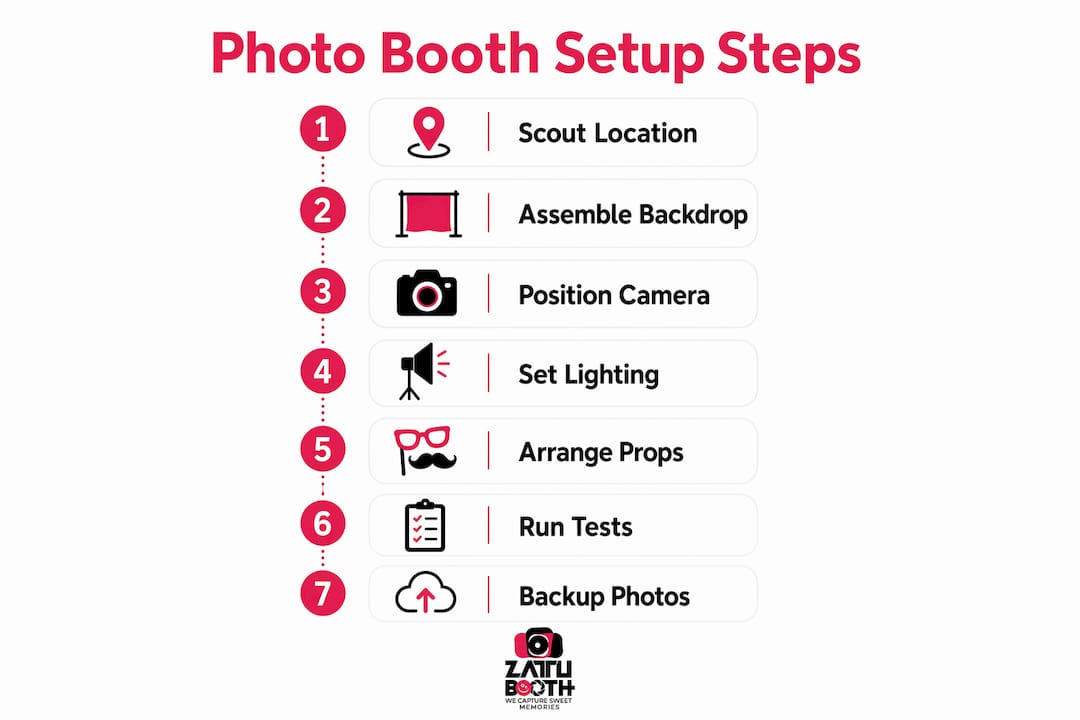
Step 3: Position the camera and tripod
Mount the camera on the tripod and set the height so the lens sits at roughly chest level for a standing adult. This angle is the most flattering for groups. Connect the camera to your tablet or laptop via USB or Wi-Fi sync, depending on your software.
Step 4: Set up lighting
Place your two light sources on either side of the camera, angled slightly downward toward where guests will stand. Test for hotspots by taking a few shots of a volunteer before the event starts. Adjust until skin tones look even and there are no blown-out highlights.
Step 5: Configure camera and software settings
- Set shutter speed to 1/125 or faster to freeze movement
- Keep ISO between 200–800 to control noise
- Turn on auto-focus and confirm the software is syncing with the camera and your cloud storage or printer
Step 6: Arrange props and signage
Lay props out in a tidy, visible display beside the booth. A messy prop bin slows everything down. Post a simple sign with two or three steps: “Step in, tap the screen, smile.” Students move faster when the instructions are right in front of them.
Step 7: Run a full test session
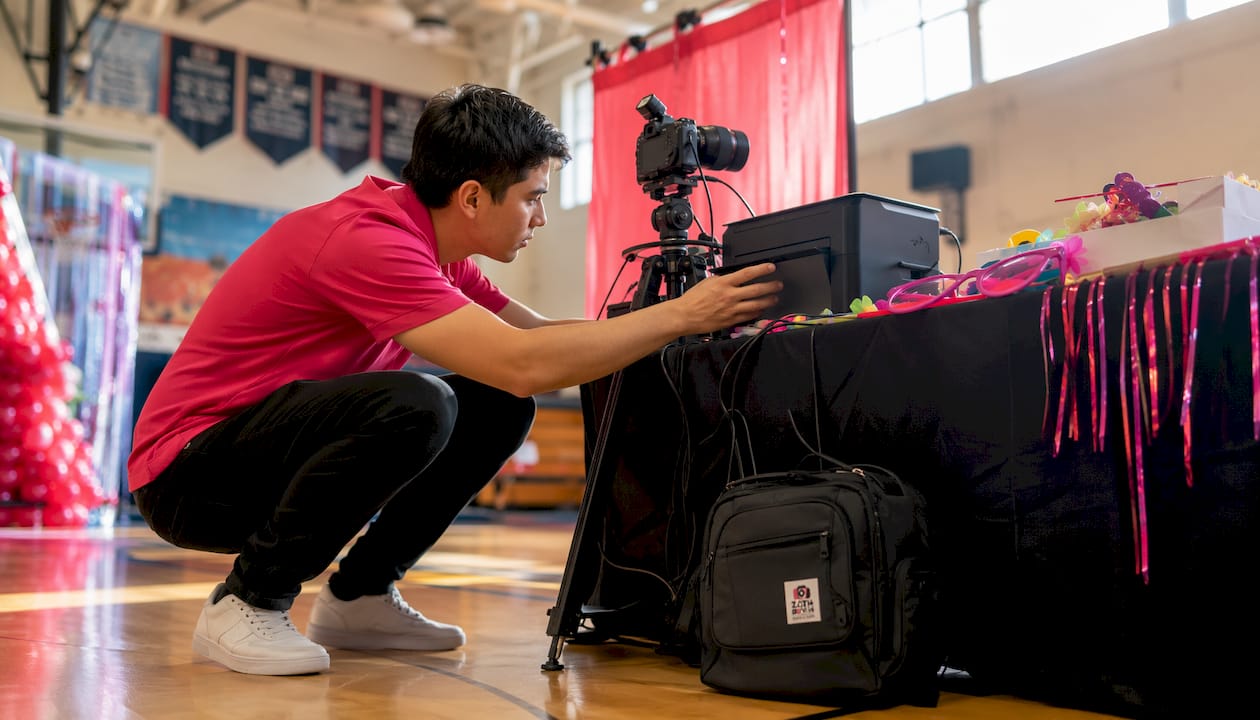
Do a complete mock run before guests arrive. Check lighting, exposure, software sync, printer alignment, and digital delivery. Fix any issues now, not during the event.
Pro Tip: Download all photos to a backup device before tearing down. Cloud sync can fail mid-event, and a local backup on a laptop or external drive means no photos get lost.
How do you keep a school photo booth running smoothly during an event?
A well-set-up booth can still fall apart without good operational habits. These practices keep things fun and orderly from the first song to the last.
Assign a dedicated attendant. A friendly, engaged attendant makes an enormous difference. They help shy students feel comfortable, keep props tidy, troubleshoot tech hiccups, and maintain a steady flow through the line. Without someone in that role, the booth often sits idle because students are unsure how to use it.
Manage the line actively. Limit on-screen choices to two modes maximum, such as a standard photo and a GIF. More options slow down every interaction and create frustration. Clear entrance and exit paths also help groups move through without confusion.
Use branded overlays thoughtfully. School photo overlays work best when they include the event name, date, and a corner-placed school logo with plenty of negative space. Overlays crowded with large logos or multiple graphics reduce how often students share their photos. Keep the design clean so the students’ faces remain the focus.
Secure every cable. Tape all power cords and USB cables flat to the floor with gaffer tape before guests arrive. High-traffic school events mean students will be moving quickly, and a loose cable is a genuine safety hazard.
Protect student privacy. Make digital delivery opt-in through QR code, text, or email rather than automatic. For younger students or events with stricter privacy requirements, consider delivering the full gallery directly to the event organiser rather than to individual phones. Use school-friendly signage that explains how photos will be shared.
Monitor ambient lighting throughout the event. School gyms and cafeterias often have overhead fluorescent lights that shift in colour temperature as the evening progresses or as stage lighting changes. Check your camera’s white balance setting every 30–45 minutes and adjust if skin tones start looking green or orange.
DIY vs. professional photo booth rental: which is right for your school event?
The honest answer depends on your event size, your available time, and the experience you want to deliver.
DIY photo booths typically incur a modest equipment cost, but that price comes with a real trade-off: several hours of setup, active management throughout the event, and photo quality that often falls short of professional results due to inconsistent lighting and limited software stability. Professional rentals in Canada vary by market and package, but they include experienced attendants, professional-grade cameras, instant prints, and custom templates as standard.
For school events with more than 50 guests, or when the organising teacher simply cannot spend the evening managing tech, a professional rental is the stronger choice. Professional booths handle 150+ guests in three hours or less; DIY setups often bottleneck with under 50 guests unless the host can dedicate several hours, making them best suited for smaller events.
| Criteria | DIY setup | Professional rental |
|---|---|---|
| Upfront cost | — | Higher investment, all-inclusive |
| Setup time | 2–3 hours minimum | Handled by the provider |
| Photo quality | Variable, lighting-dependent | Consistent, studio-grade |
| Attendant included | No (you manage it) | Yes, trained and experienced |
| Tech reliability | Dependent on your troubleshooting | Backup equipment on-site |
| Best for | Small events under 50 guests | Events with more than 50 guests, proms, graduations |
For a school dance, graduation night, or any event where you want students to walk away with frame-worthy keepsakes, the professional route removes every variable that could go wrong. You stay present for your students instead of rebooting an app.
Bring the fun to your next school event with ZATTU PHOTO BOOTH

We know how much work goes into planning a school event. The last thing you need is a photo booth that requires babysitting. At ZATTU PHOTO BOOTH, we handle every detail, from setup and branded overlays to printing and teardown, so you can focus on your students.
Our selfie photo booth rental is built specifically for high-energy school events across Southwestern Ontario, including Kitchener, Waterloo, Guelph, and Hamilton. We bring Nikon full-frame mirrorless cameras, professional lighting, and a trained attendant to every booking. You bring the fun. We handle the rest.
Ready to make your next school event unforgettable? Request a quote today and let’s build something your students will talk about for years.
Key takeaways
A school photo booth setup works best when the right equipment, thoughtful space planning, and active attendant supervision come together before the first student steps in front of the camera.
| Point | Details |
|---|---|
| Space planning matters | A standard open-air setup needs roughly 8×8 feet; 360-style booths require 10×10 feet or more. |
| Lighting beats ring lights | Two softboxes or LED panels at 45-degree angles produce more flattering results than a ring light. |
| DIY has a guest ceiling | DIY setups tend to bottleneck with smaller groups unless the host is available for several hours to manage the booth, while professional booths can easily handle events with more than 50 guests. |
| Overlays should stay minimal | Event name, date, and a corner logo with negative space keeps photos shareable and student-focused. |
| Attendants are the difference-maker | A trained attendant manages flow, props, and tech so organising teachers can stay present for students. |