

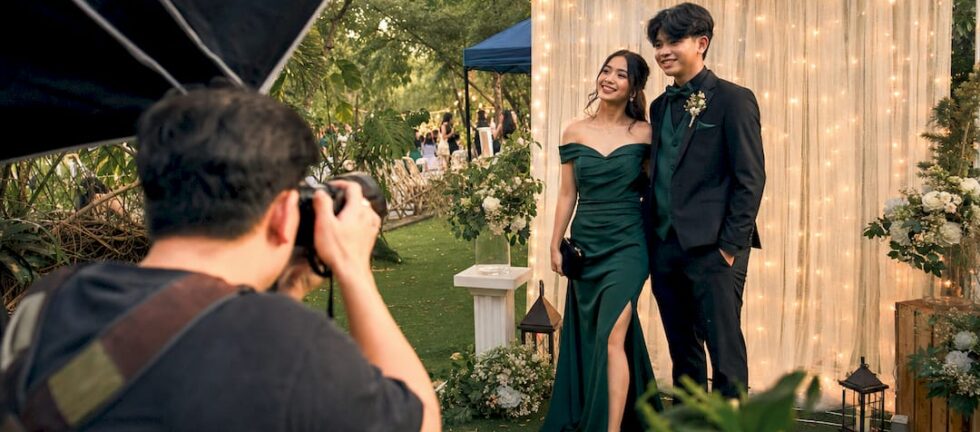
Professional lighting is the single biggest factor that separates a crisp, colour-accurate prom portrait from a blurry, washed-out snapshot. It controls exposure, shapes skin tones, captures fabric texture, and creates a consistent gallery you will actually want to print and display for years. No camera upgrade, filter, or editing app can fully replace what good light does in the moment.
Three things to know right away:
- Sharp, well-exposed images require controlled light, especially in dim ballrooms and high-energy dance venues where smartphones consistently struggle.
- Consistent skin tones and colours across every photo in the gallery make prints and albums look polished rather than random.
- Give the photographer or booth operator an uninterrupted window to control the light. That single decision protects the whole session.
Table of Contents
- Why does professional lighting matter so much for prom photos?
- How does light actually change a photograph?
- What lighting setups do professionals use at prom shoots and booths?
- How can students and parents get the most from professional lighting?
- What should you expect from a professional prom shoot or premium booth?
- What can professional editing fix, and what can it not?
- How ZATTU PHOTO BOOTH uses professional lighting for prom photos
- Key takeaways
- The part most people overlook about prom photography
- Studio-quality prom photos start with the right booth
Why does professional lighting matter so much for prom photos?
Professional lighting solves six real problems that amateur setups simply cannot.
-
Sharpness and correct exposure in dim venues. Prom venues are notoriously dark, and high-action moments happen fast. Off-camera flash with diffusers gives a photographer precise control over shutter speed, aperture, and ISO, producing sharp images even when the room is lit only by chandeliers and coloured uplights.
-
Consistent colour and skin tones across the full gallery. When every photo is lit the same way, the gallery feels complete. Colour and exposure consistency is what makes prints and digital albums look like a professional keepsake rather than a collection of phone snapshots taken under different lights.
-
Texture and detail. A corsage, embroidered fabric, or carefully applied make-up deserves to be captured accurately. Professional lighting setups are designed to make the subject the hero of the frame, rendering fine details crisply rather than flattening them.
-
Mood and depth. Flat, even light looks sterile. Directional light with controlled shadow adds dimension and style to portraits. A good photographer uses shadow as deliberately as light to create images that feel three-dimensional.
-
Reduced red-eye and harsh highlights. On-camera flash fires straight at the subject and bounces directly back into the lens. Moving the flash off-camera and adding a diffuser eliminates that harsh, flat look and the red-eye that ruins otherwise great shots.
-
Faster, more predictable editing. When exposure and colour are correct at capture, editing becomes refinement rather than rescue. That means faster turnaround on your gallery and better final print quality.
Pro Tip: Ask your photographer or booth operator whether they use off-camera flash. That one question tells you a great deal about the quality of images you will receive.
How does light actually change a photograph?
The short answer: direction, softness, intensity, and colour temperature change everything about how skin tones, fabrics, and backgrounds look in a final image.
Exposure control is where it starts. A professional lighting setup lets the photographer set a fast enough shutter speed to freeze movement, a low enough ISO to avoid grain, and an aperture that keeps the subject sharp while softening the background. Venue lighting alone rarely allows all three at once.
Colour temperature is a subtler issue, but it matters enormously for skin tones. Ballroom chandeliers, LED uplights, and DJ colour washes each emit light at different temperatures, creating orange, green, or blue casts on faces. Pros either correct for those casts intentionally or overpower them with a calibrated flash, producing natural skin tones that venue mood lighting simply cannot deliver on its own.
Softness versus hard light is the difference between a flattering portrait and a harsh one. A bare flash fires a small, intense burst that creates sharp shadows under the nose and chin. Add a large diffuser or softbox and that same flash wraps around the face like window light, smoothing texture without losing detail. The expensive look in photography comes from conscious control of light character, not from the camera body itself.
Depth is the final piece. Overlighting is a common amateur mistake; flooding a scene with light from every direction erases shadow and makes portraits look flat. Professionals place a key light, add a measured fill, and leave some shadow to give the image dimension. That deliberate restraint is what makes a portrait feel premium.
What lighting setups do professionals use at prom shoots and booths?
| Setup | How it works | Best used for |
|---|---|---|
| Off-camera flash with diffuser (key + fill) | Flash moved off-axis, softened through an umbrella or softbox, with a secondary fill to reduce harsh shadows | Posed portraits, couples shots, formal group photos |
| Two-light portrait pairing | Key light on one side, rim or hair light behind the subject for separation from the background | Individual portraits, glam-style shots |
| Continuous LED panels | Constant, even light output; no flash burst; colour-adjustable | Photo booth sessions, group shots, candid moments |
| Rim or backlight | Light placed behind the subject to create a bright edge, separating them from the background | Dramatic portraits, dark or busy backgrounds |
| Ambient-balanced flash | Flash power matched to venue ambient light so the background remains visible and natural | Dance floor candids, wide venue shots |
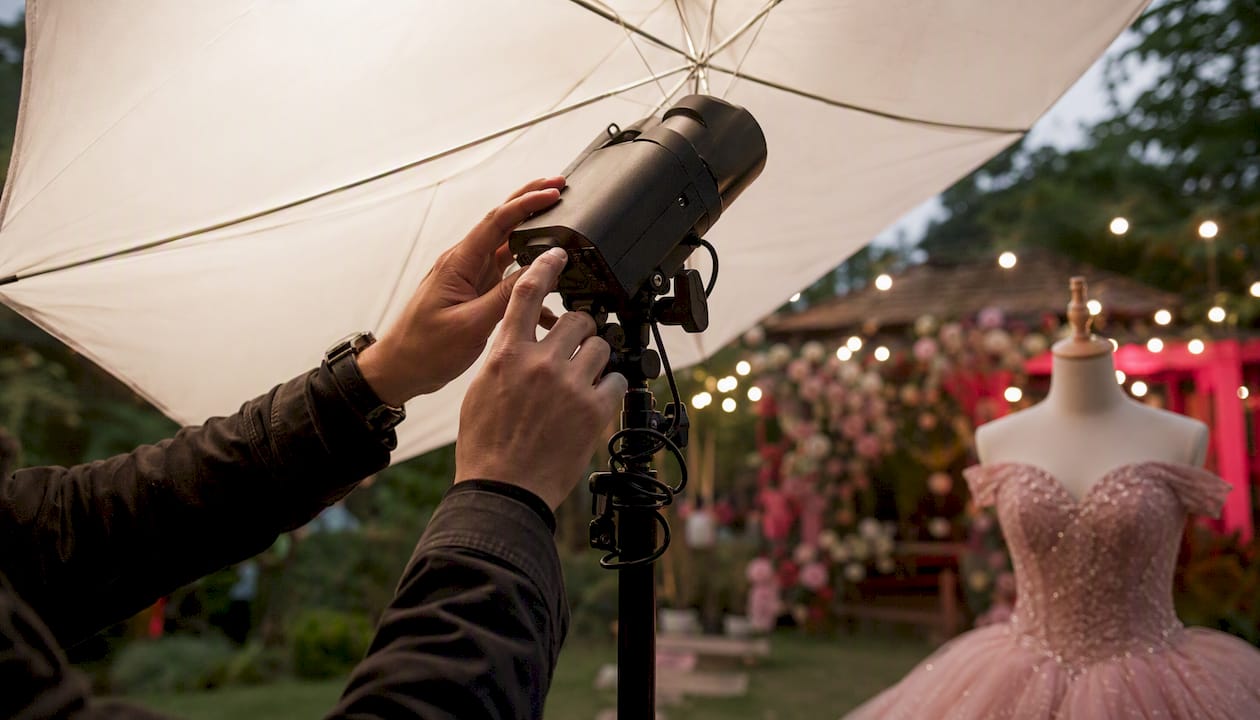
When evaluating a photographer or booth vendor, ask specifically whether they use off-camera flash or rely on the camera’s built-in flash. Built-in flash fires from the same axis as the lens, producing flat, harsh images with strong shadows. Off-camera flash, positioned at an angle and softened through a modifier, sculpts the face and produces the kind of portrait worth framing.
Photographers use lighting choices to portray confidence and natural expression in nervous subjects. The setup is never just technical. It is part of how a professional helps a student who has never been in front of a camera feel relaxed and look their best.
How can students and parents get the most from professional lighting?
A little preparation before the night makes a real difference to what you take home.
Before the event:
-
Confirm with your photographer or booth operator that they use off-camera flash and ask about their backdrop options. Knowing this in advance helps you coordinate outfits and colour choices. Our prom photo booth planning guide walks through the full checklist.
-
Book a dedicated portrait window of at least 20–30 minutes for formal posed shots, separate from the open booth time. Rushed portraits rarely look their best.
-
Share the venue’s lighting conditions with the operator ahead of time if you can. A dark ballroom with coloured uplights requires different preparation than a brightly lit school gymnasium.
On the night:
- Follow the photographer’s or attendant’s directions on where to stand. The position relative to the light source is not arbitrary. Moving a step to the left or right can change the entire quality of the image.
- Use props and backdrops as directed. A professional backdrop is chosen to complement the lighting setup. Swapping it out on a whim can throw off the whole balance.
- Limit phone use during portrait windows. Multiple smartphone flashes firing simultaneously introduce competing light sources that create inconsistent exposures and make editing nearly impossible.
Dos and don’ts:
- Do coordinate group shots in advance so everyone is ready when the portrait window opens.
- Do trust the operator’s direction on posing and positioning.
- Don’t let guests fire phone flashes during a professional session.
- Don’t stand directly under venue spotlights, which create unflattering shadows under the eyes.
What should you expect from a professional prom shoot or premium booth?
A professional prom portrait session or premium photo booth activation follows a predictable structure. Setup typically takes 30–60 minutes before guests arrive. The portrait window, where formal posed shots happen under controlled lighting, usually runs 60–90 minutes. Group shots and candid booth sessions fill the remainder of the event, and pack-down takes another 30–45 minutes after the last guest leaves.
Typical deliverables from a professional service include a curated gallery of edited digital images, an online sharing link, and print options ranging from wallet-size prints to large framed portraits. Turnaround times vary, but most professional photographers deliver edited galleries within two to four weeks. Premium photo booths often provide instant prints on the night and a digital gallery link within 24–48 hours.
In Canada, professional prom photography packages generally cost a moderate to high price depending on the length and inclusions, such as edited images and print products. Premium photo booth rentals for prom events in Ontario typically vary similarly, influenced by booth type, hours of coverage, and available add-ons like custom backdrops, props, and instant prints. Factors that push the price higher include extended hours, multiple booth types, branded overlays, and on-site attendants.
The value question is straightforward: prom happens once. A professional service with studio-grade lighting delivers images you will still want to display a decade from now. A phone snapshot taken under a coloured DJ light will not.
What can professional editing fix, and what can it not?
Editing is a finishing tool, not a rescue operation. Understanding its limits is exactly why getting the lighting right on the night matters so much.
Reasonable fixes in post-processing:
- Minor colour balance adjustments and white balance corrections
- Small exposure tweaks (brightening a slightly underexposed image or pulling back a mild highlight)
- Spot retouching for blemishes or distracting background elements
- Cropping and straightening
Problems editing cannot fully fix:
- Severe motion blur from a slow shutter speed in a dark venue. No software reliably restores a sharp image from a blurry one.
- Extreme underexposure. Lifting a very dark image in editing reveals digital noise and colour banding that make the photo unusable for print.
- Mixed coloured light left uncorrected at capture. When a subject is lit by a green uplight on one side and a warm flash on the other, the colour cast on skin is extremely difficult to correct without making the image look artificial.
- Competing phone flashes. When multiple light sources fire at random during a session, the exposures vary from frame to frame in ways that make consistent editing across a gallery nearly impossible.
Pro Tip: Good lighting at capture reduces editing time significantly and produces better print quality. A well-lit image needs refinement. A poorly lit image needs rescue, and rescue rarely produces the same result.
How ZATTU PHOTO BOOTH uses professional lighting for prom photos
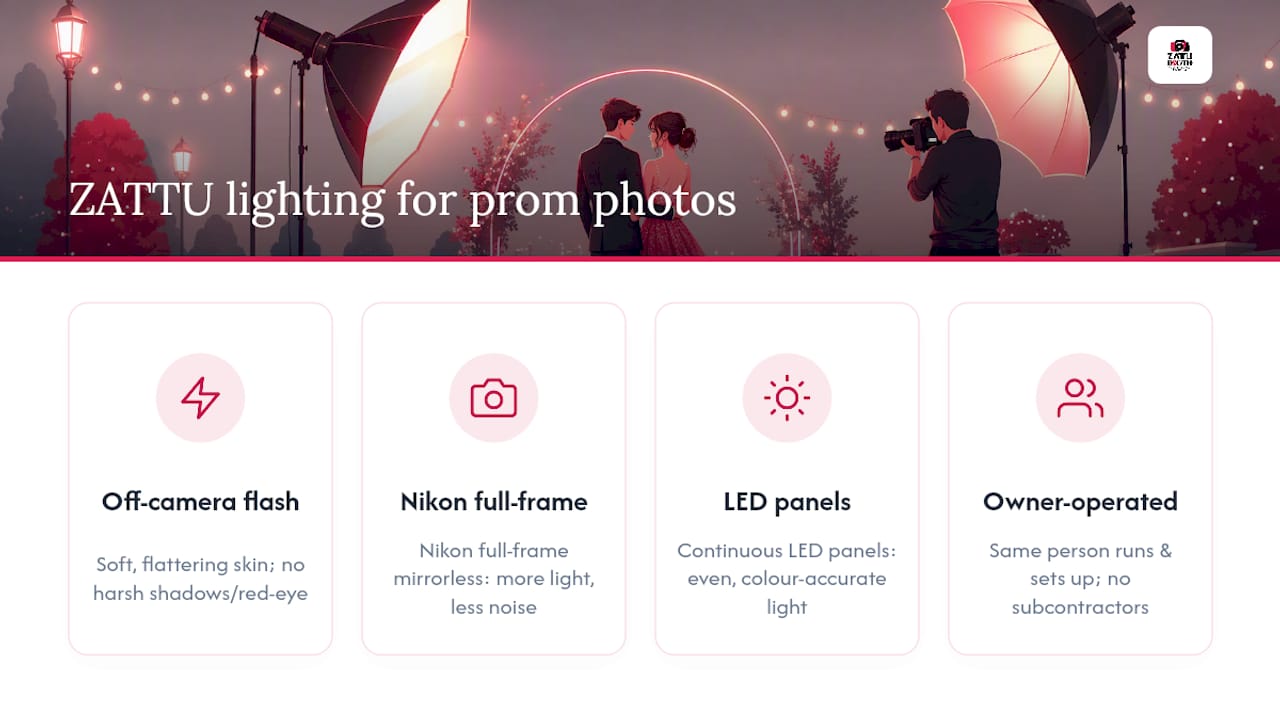
ZATTU PHOTO BOOTH uses studio-grade lighting paired with Nikon full-frame mirrorless cameras to deliver consistent, print-ready portraits at prom and grad events across Southwestern Ontario. The equipment choices are deliberate: full-frame sensors capture more light with less noise in dim venues, and professional lighting rigs give the operator precise control over exposure, colour temperature, and shadow.
The practical difference shows up immediately in the images. Diffused off-camera flash produces soft, flattering skin tones without the harsh shadows or red-eye that on-camera flash creates. Continuous LED panels in the booth deliver even, colour-accurate light for group shots, so every face in a six-person photo is lit the same way. Customisable backdrops are chosen to complement the lighting setup rather than fight it, which is why the glam photo booth option is particularly popular for prom: the lighting is calibrated specifically for portrait-quality results.
Before professional lighting is controlled, a typical venue photo looks flat, colour-shifted, and inconsistent from one frame to the next. After: skin tones are accurate, fabric textures are visible, and the gallery holds together as a cohesive set worth printing.
Every ZATTU PHOTO BOOTH event is owner-operated, which means the person who sets up the lighting is the same person running the booth all night. No subcontractors, no surprises. For prom bookings in Kitchener, Waterloo, Guelph, Hamilton, and surrounding communities, you can explore the studio booth for grad events or reach out directly to discuss a portrait window and package that fits your school’s timeline.
Pro Tip: Book your portrait window early. The best light and the most relaxed students happen in the first hour of the event, before the dance floor fills up.
Key takeaways
Professional lighting is the primary reason prom photos look sharp, colour-accurate, and consistent enough to print and display for years.
| Point | Details |
|---|---|
| Lighting beats camera gear | Controlled light direction, softness, and colour temperature matter more than camera megapixels for portrait quality. |
| Consistency requires a pro setup | Off-camera flash and diffusers produce even skin tones across the full gallery, making prints and albums look polished. |
| Editing has real limits | Motion blur, extreme underexposure, and mixed coloured light cannot be fully corrected after the fact. |
| Protect the portrait window | Ask for a dedicated 20–30 minute portrait window and limit phone flashes during that time to protect the lighting setup. |
| ZATTU PHOTO BOOTH for prom | ZATTU PHOTO BOOTH pairs Nikon full-frame cameras with studio-grade lighting for print-ready prom portraits in Southwestern Ontario. |
The part most people overlook about prom photography
There is a tendency to focus on the camera when evaluating photo quality. Parents ask about megapixels. Students look at the size of the lens. Both are understandable instincts, and both miss the point.
The images that end up framed on a wall are almost never the ones taken with the most expensive camera in the room. They are the ones taken under the best light. A skilled operator with a well-placed diffused flash and a calibrated LED panel will consistently outperform a high-end camera firing a built-in flash in a dark ballroom. The physics are not negotiable.
What I find most interesting about prom photography specifically is how much the lighting setup affects the student’s experience, not just the image. When the light is soft and directional, students relax. They stop squinting. They stop bracing for a harsh burst. The portraits that result look natural and confident because the environment actually felt that way. That is not a coincidence. It is the result of intentional setup, and it is something no amount of post-processing can manufacture after the fact.
Parents booking for prom should ask one question above all others: “How do you control the light?” The answer tells you everything about what you will receive.
Studio-quality prom photos start with the right booth
ZATTU PHOTO BOOTH brings studio-grade lighting, Nikon full-frame capture, and an owner-operated setup directly to your prom venue in Southwestern Ontario. Every package includes professional lighting rigs, customisable backdrops, instant prints, and a digital gallery link, so students leave with frame-worthy keepsakes the same night and parents have print-ready images within days.
We work with schools and event coordinators to build a portrait window into the event timeline, so the formal shots happen under controlled light before the dance floor gets busy. No subcontractors, no guesswork on the night. Just consistent, vibrant photos that hold up to printing at any size.
Ready to lock in your date? Request a quote for your prom or grad event and we will walk you through the package options, portrait window timing, and everything included. Spots for spring prom season fill quickly, so reaching out early gives you the most flexibility.